How to Seal a Cable Duct using Duct Seal LG
A Step-by-Step Guide
To achieve optimal results when sealing your cable ducts using Duct Seal LG, follow these detailed installation steps:
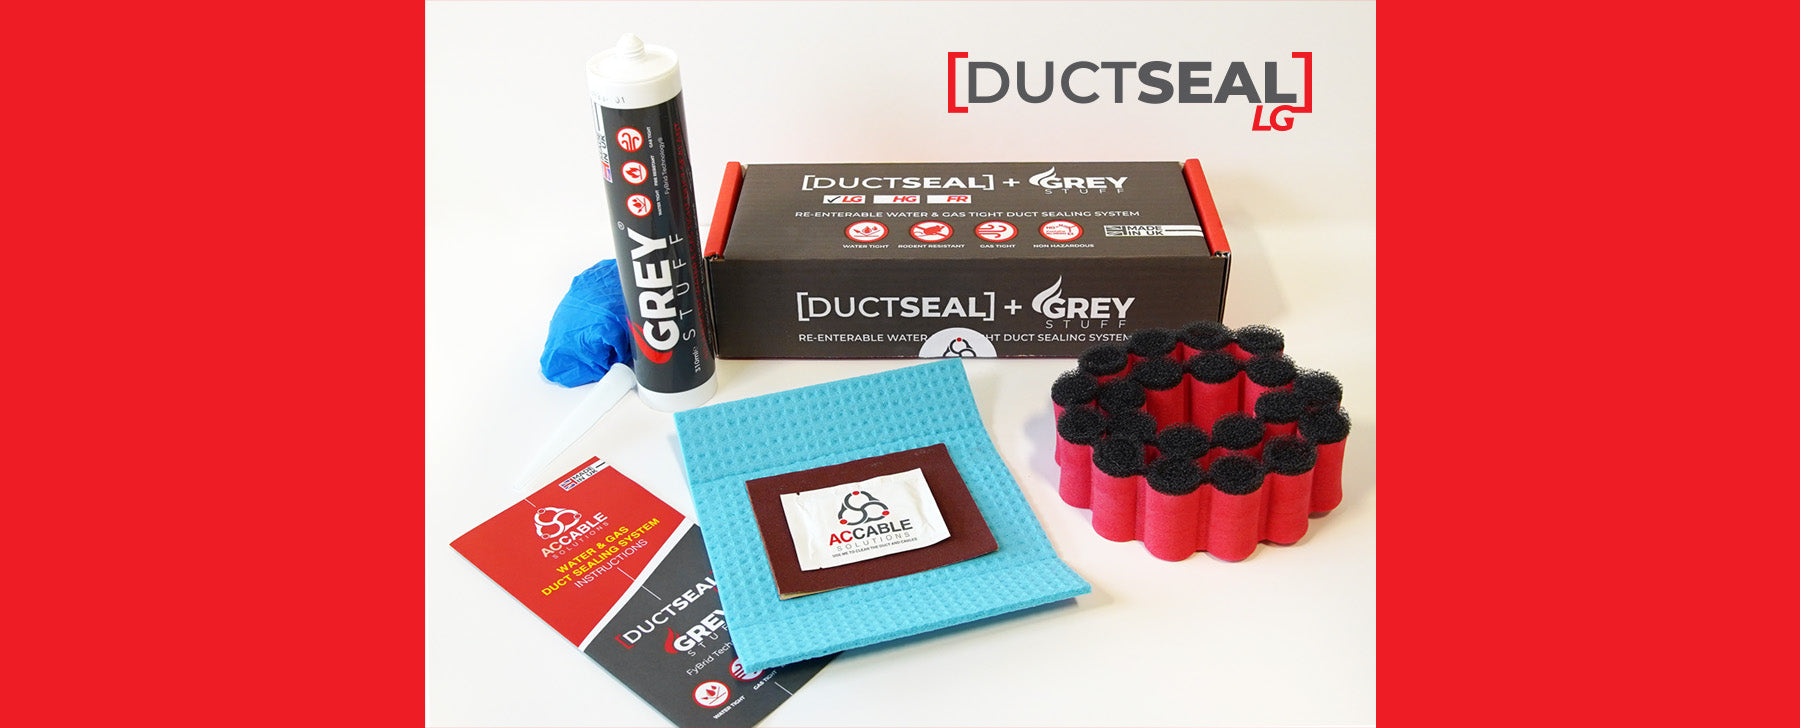
Duct Seal LG comes complete with our unique daisy-chained breathable circular foam tubes that easily wrap and separates cables to ensure limited movement while applying our NEW flexible intumescent, zero halogens, & zero Meko adhesive and sealing compound, GreyStuff.
Tools Required for Installation:
- High Ratio Skeleton Gun (Not Included)
- Cellulose Sponge (Included)
- Cleaning Wipe (Included)
- Long Nose Pliers (Not Included)
- Nitrile Protective Gloves (Included)
- Tape Measure (Not Included)
- Water (Not Included)
- Sandpaper (Included)
Essential Installation Requirements
- All cables, pipes, ducts, & penetrations must be clean, dry and free of any loose debris
- No running water (water blocking kit sold separately, please contact AC Cable Solutions)
- All dirt, grease & debris must be removed from the cables & duct
- Curing is between 8 to 14 days to cure fully. This depends on humidity & temperature. The more humidity, the faster GreyStuff cures.
- Cables or pipes must be separated a minimum of 5mm from cable to cable and from cable to duct.
- All Penetrations must have a minimum supporting space of 80mm (Please contact AC Cable Solutions if you have less)
- Cable or pipes must not be moved until GreyStuff is fully cured
Providing Duct Seal LG is installed correctly:
- Up to 1.0 bar Gas & Water Resistance
- Resists Hydrocarbons
- Resists Hazardous Gases
- Resists Rodents
- Flame retardent: Tested to UL94
Kit Sizes
- 1 x Kit will seal ducts from 50mm to 125mm
- 2 x Kits will seal ducts from 150 to 200mm
Instructions:
1. Thoroughly Clean the Duct and Cables:
- Ensure the removal of all debris, grease, and dirt from both the duct and cables. A clean surface is crucial for effective sealing.

- Use sandpaper to roughen 20mm of both the duct and cables. This process enhances adhesion, promoting a stronger seal.

3. Apply Foam Circular Tubes:
- Take the strip of foam circular tubes and wrap them around the duct and in between the cables, maintaining separation between cables and the inner duct.
- Pack the Foam Tightly: Ensure a snug fit by packing the foam tightly around the cables.
- Customisable for Gaps: Single tubes can be easily ripped off, and their centres can be pulled out to fill smaller gaps effectively.
- Maintain 5mm Gap Separation: Ensure a minimum gap of 5mm between each cable and the inner surface of the duct
- Leave a 20mm Gap for GreyStuff Sealant: Reserve a 20mm gap at the front of the duct for the application of the GreyStuff sealant.

4. Adjust Foam Placement with Precision:
- In case the foam is inadvertently pushed too far back during installation, use long nose pliers to carefully pull it forward. Maintain a minimum 20mm gap at the front to accommodate the GreyStuff Sealant application.
- Orientation Matters: Ensure the black side of the foam is facing you during the installation process.
- Centers for Versatility: If necessary, use pliers to remove the centers of the foam, allowing for filling smaller gaps or wrapping around cables to ensure adequate separation.

5. Application of GreyStuff Sealant:
- Begin applying the GreyStuff Sealant by encircling the cables and gradually working from the bottom up, ensuring comprehensive coverage.
- Custom Nozzles for Tight Spaces: Larger nozzles can be provided if space restrictions are a concern during installation, facilitating a more adaptable application process.
- Slight Overfill: Optimal results are achieved with a slight overfill of the GreyStuff Sealant
- Sealant Gun Technique: Keep the nozzle in the sealant while applying with the gun to create a smooth, even paste.

- Wet the provided cellulose sponge and gently squeeze out excess water. Use the damp sponge to dab the GreyStuff Sealant, ensuring it adheres to both the cables and the duct.
- Anti-Stick: Because the sponge is wet, it prevents sticking to the GreyStuff Sealant, allowing for easy installation.
- Optional Glove Technique: For an added touch of finesse, consider wetting nitrile gloves and using them to smooth and finish the sealant. This technique imparts a smooth and shiny finish to the sealed surface, elevating the overall aesthetics of the duct sealing.

Written by Carl Pike - The Duct Sealing Man